1st Hair Cut- Exploring Cricut
Welcome everyone! Glad you
could join me today for the this weeks Design Team daily project at Exploring
Cricut. http://exploringcricut.blogspot.com/
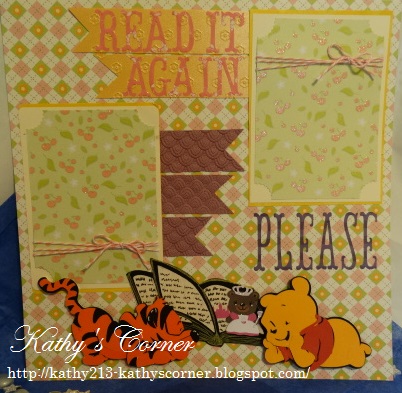
Today I was having some fun using the Cricut
cartridges CTMH - Artiste, Creative Memories - Tiny Treasures, Baby Steps and
Wall Décor and More. For today's project it was our choice but, we were to use
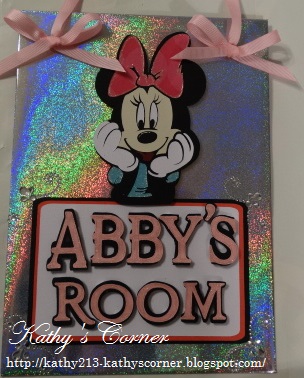
at least 2 Cricut Cuts. I decided to make a scrapbook page again for my
beautiful granddaughter.

This is Abby and Grandma 8/10/2013
Yes, this is me the proud Grandma.


I hope you
enjoyed my project.
What
I used:
My
Cricut Craft Room
Cricut Cartridges - CTMH - Artiste, Creative Memories - Tiny Treasures, Baby
Steps and Wall Décor and More Scotch ATG Adhesive
Pop Dots
Pink Twine from my stash
Brads from my stash
Zip Dry Adhesive
Gel Pens - White and Black
Stamp - Peachy Keen Faces
Ink - Memento Tuxedo Black
Cardstock - Cricut 12"x24" pastels, Cricut White Textured paper and Silver Shine paper was from Wal-Mart.

Don't forget that every day, each one
of the designers has a Cricut creation to share with you. We hope to
inspire you to explore your Cricut cartridges and have lots of fun doing it!!
Be sure to pop by http://mycricutcraftroom.blogspot.com/
everyday and be
prepared to be amazed!
Thanks for dropping by today! Have a great
day! God Bless!